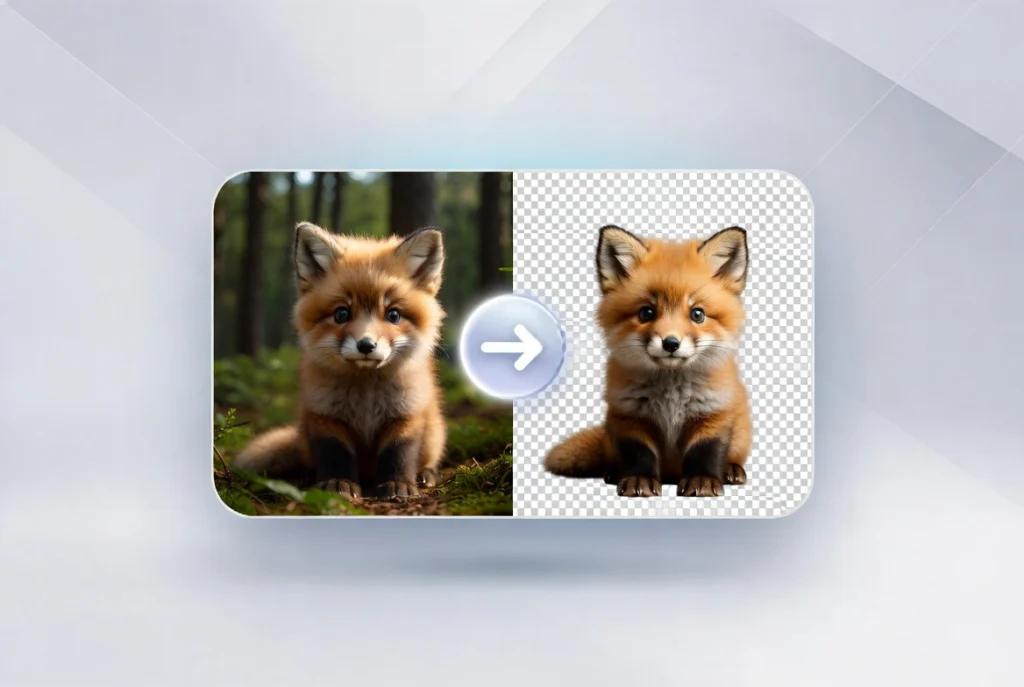
You have the perfect product photo, but the background is cluttered and distracting. Or maybe you need a transparent logo for your website, but the white background just will not go away. Removing backgrounds from images used to require expensive software like Photoshop and hours of careful selection. Not anymore.
Today, anyone can remove image backgrounds in seconds using free tools and simple techniques. Whether you are an online seller, a marketer, a content creator, or just someone who wants cleaner photos, this guide will walk you through everything you need to know. You will learn multiple methods to remove backgrounds, make images transparent, and get professional results without spending a dime.
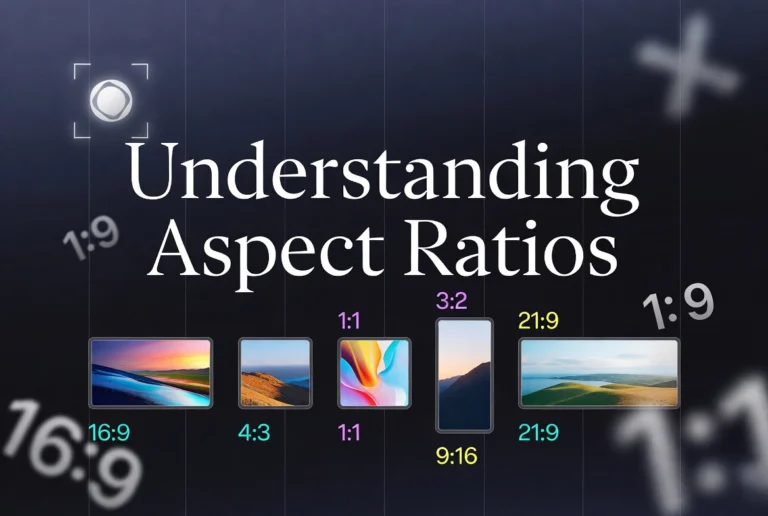
What Is a Background Remover and Why Do You Need One?
A background remover is a tool or technique that isolates the main subject of an image by removing the surrounding background. The result is either a transparent background or a solid color replacement. This is essential for product photography, branding, presentations, and social media graphics.
Here is why you might need a background remover:
- E-commerce product photos: Clean, consistent backgrounds make products look professional and increase sales.
- Logos and branding: A transparent background allows your logo to sit naturally on any website or document.
- Social media content: Remove distractions to focus attention on your subject.
- Presentations and reports: Isolate images for cleaner, more professional documents.
- Graphic design projects: Create collages, composites, and layered designs.
What People Use Background Removers For
Here are some real ways people use background removal tools in their daily lives and work.
Online Sellers and E-commerce Stores
A small business owner sells handmade jewelry on Etsy. They take photos on their kitchen table, but the background is cluttered. Using a background remover, they create clean, white-background product images that look professional and attract more customers.
Real Estate Agents
An agent takes photos of a property, but the sky is gray and unappealing. They remove the sky background and replace it with a bright blue one, making the listing photos more attractive to potential buyers.
Content Creators and Influencers
A social media influencer wants to create a consistent aesthetic. They remove backgrounds from their photos and replace them with branded colors or patterns that match their feed.
Teachers and Educators
A teacher creates worksheets and presentations. They remove backgrounds from images to focus students’ attention on the main subject, whether it is an animal, a historical figure, or a scientific diagram.
Job Seekers
A professional needs a clean headshot for their LinkedIn profile. They remove the messy office background from their photo and replace it with a neutral, professional color.
Graphic Designers
A designer creates marketing materials for multiple clients. They use background removal to isolate elements from stock photos, allowing them to reuse images in different contexts.
How to Remove Backgrounds: Step-by-Step Methods
There are several ways to remove backgrounds, ranging from fully automatic to manual. Here is a step by step guide for each approach.
Method 1: Using an Automatic Background Remover Online
Automatic tools are the fastest option. They use artificial intelligence to detect the subject of your image and remove the background instantly.
- Open your preferred background remover tool in your browser. Look for one that processes images locally for privacy.
- Upload the image you want to edit. Most tools support JPG, PNG, and WebP formats.
- The tool automatically detects the main subject and removes the background.
- Review the result. Most tools allow you to touch up edges or restore removed areas.
- Download your image with a transparent background or choose a new background color.
Pro tip: Automatic tools work best with high-contrast images where the subject is clearly separated from the background. Complex images with fine details like hair or fur may require manual touch-ups.
Method 2: Using Microsoft PowerPoint or Google Slides
Surprisingly, presentation software has built-in background removal tools that work well for simple images.
In PowerPoint:
- Insert your image into a slide.
- Select the image, then click “Remove Background” in the Picture Format tab.
- Mark areas to keep or remove using the tools provided.
- Click “Keep Changes” when satisfied.
In Google Slides:
- Insert your image into a slide.
- Click on the image, then select “Format Options” from the toolbar.
- Expand “Adjustments” and use the transparency slider or the built-in background removal feature.
Method 3: Using Free Software (GIMP)
GIMP is a free, open-source image editor with powerful selection tools for manual background removal.
- Open your image in GIMP.
- Select the “Fuzzy Select” tool (magic wand) or “Foreground Select” tool.
- Click on the background area to select it. Hold Shift to add to your selection.
- Press Delete to remove the selected background.
- Export your image as PNG to preserve transparency.
Method 4: Using Built-in Phone Apps
Both iPhone and Android have built-in background removal features in their photo apps.
On iPhone (iOS 16 and later):
- Open the Photos app and select your image.
- Tap and hold on the main subject of the photo.
- When the subject glows, you can drag it out to copy it with a transparent background.
- Paste into Messages, Mail, or other apps.
On Android (Google Photos):
- Open your image in Google Photos.
- Tap the edit icon, then tap “Tools.”
- Select “Magic Eraser” or “Background” depending on your device.
- Follow the prompts to remove the background.
Step-by-Step: How to Make Image Background Transparent
Creating a transparent background is essential for logos, product images, and graphics that need to sit on different colored backgrounds.
- Open your chosen background remover tool.
- Upload your image.
- Use automatic detection or manual selection to isolate the subject.
- Instead of filling with a color, choose “Transparent” as the output option.
- Download as PNG, as this is the only common format that supports transparency.
Important: Always save transparent images as PNG. JPG and WebP (in lossy mode) do not support transparent backgrounds.
How to Make Image Transparent Without Removing the Subject
Sometimes you want to keep the background but make it see-through, creating a faded or ghosted effect. This is useful for watermarks, overlays, and subtle branding.
- Open your image in an editor that supports layer opacity.
- Select the entire image or the layer containing it.
- Adjust the opacity slider to your desired level (e.g., 50 percent for a semi-transparent effect).
- Save as PNG to preserve transparency.
This technique is different from removing the background. You are keeping the whole image but making it partially see-through.
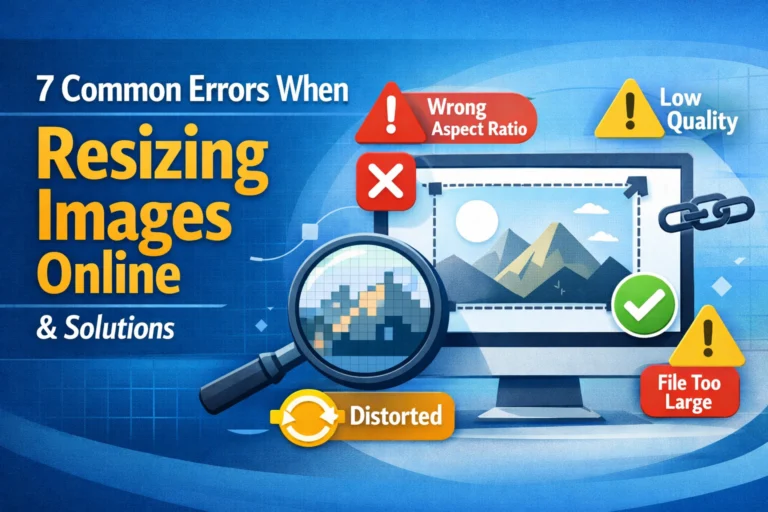
Common Mistakes When Removing Backgrounds
Avoid these common pitfalls to get clean, professional results.
Mistake 1: Choosing the Wrong Image Format
If you want a transparent background, always save as PNG. JPG does not support transparency and will add a white background automatically. WebP supports transparency but is not universally supported by all image viewers.
Mistake 2: Forgetting to Check Edge Details
Automatic tools often struggle with fine details like hair, fur, or tree branches. Always zoom in and check the edges. Manual touch-ups may be needed for perfect results.
Mistake 3: Using Low-Resolution Images
Starting with a low-resolution image will result in a low-quality cutout. Always use the highest resolution available for the best results.
Mistake 4: Not Saving a Copy of the Original
Always keep your original image. Once you remove a background, you cannot easily get it back. Save a copy before editing.
Mistake 5: Removing Backgrounds from Complex Images Without Manual Adjustment
Automatic tools are not perfect. For images with complex backgrounds or subjects that blend into the background, manual selection tools often produce better results.
Best Practices for Background Removal
Follow these best practices to get the best results every time.
Start with High-Contrast Images
The easier it is to distinguish the subject from the background, the better the result. A person standing against a plain wall is easier to cut out than a person standing in a busy forest.
Use Manual Touch-Ups for Hair and Fur
Automatic tools often struggle with fine details. Use a brush tool to manually refine edges around hair, fur, or other complex boundaries.
Save Your Edits in the Right Format
Transparent backgrounds require PNG. For solid backgrounds, JPG or WebP are fine and produce smaller file sizes.
Test Your Image on Different Backgrounds
Before finalizing, place your cutout image on different colored backgrounds to ensure there are no visible artifacts or leftover background pixels.
Use Local Processing for Privacy
If you are removing backgrounds from sensitive images like personal photos or client work, choose a tool that processes images locally in your browser. No uploads, no privacy concerns.
Security and Privacy Considerations
When using online background remover tools, your privacy matters. Here is what to look for.
Client-Side Processing Is Safer
The best online background removers process your images locally in your browser. Nothing is uploaded to any server. This is essential for personal photos, product images, and client work.
Avoid Tools That Require Accounts
If a background remover asks you to create an account or provide an email address, be cautious. Legitimate tools do not need your personal information to edit an image.
Check for HTTPS Encryption
Look for the padlock icon in your browser’s address bar. This ensures that any data transmitted is encrypted. Even better, choose tools that do not transmit data at all.
Delete Uploaded Images from Servers
If you use a server-based tool, check if they have a policy to delete uploaded images after processing. Some keep images for days or weeks.
Background Remover vs Manual Selection: Which Is Better?
Both approaches have their place. Here is how to choose.
When to Use Automatic Background Removers
- You have many images to process
- The subject is clearly separated from the background
- You need quick results for social media or rough drafts
- You do not have advanced editing skills
When to Use Manual Selection
- You need perfect edge detail (hair, fur, fine details)
- The background is complex or similar in color to the subject
- You only have a few images to process
- You have experience with photo editing software
Frequently Asked Questions
1. What is the best free background remover?
The best tool depends on your needs. For automatic quick results, online tools that process locally are excellent. For manual control, GIMP is a powerful free option. For mobile users, the built-in tools in iOS and Android work surprisingly well.
2. Can I remove a background without Photoshop?
Absolutely. There are dozens of free online tools, built-in phone features, and free software options that can remove backgrounds without Photoshop. This guide covers several of them.
3. How do I make a PNG transparent?
PNG files already support transparency. To make part of your image transparent, you need to remove the background using a background remover tool. The result will automatically have a transparent background when saved as PNG.
4. Why is my transparent background showing as white?
You are likely viewing the image in an application that does not support transparency, or you saved it as JPG instead of PNG. JPG does not support transparent backgrounds and will add a white background automatically.
5. Can I remove a white background from an image?
Yes. White backgrounds are among the easiest to remove. Most automatic background removers handle white backgrounds very well. You can also use the “magic wand” tool in editors like GIMP to select and delete the white area.
6. How do I remove a background from a photo on my phone?
On iPhone (iOS 16+), tap and hold on the subject of any photo to copy it with a transparent background. On Android, use Google Photos’ Magic Eraser or download a free background remover app from your app store.
7. Will removing a background reduce image quality?
No, removing a background does not affect the quality of the subject. The pixels of the subject remain unchanged. However, saving in different formats (like JPG) can reduce quality. Always save transparent images as PNG.
8. What is the difference between removing background and making an image transparent?
Removing a background deletes the background entirely, leaving only the subject. Making an image transparent reduces the opacity of the entire image, including the subject, creating a faded or ghosted effect.
9. Can I remove a background from a video?
Yes, but it requires more advanced software. Some tools like Zoom, OBS, and professional video editors offer background removal for video. This guide focuses on static images, which is where most people need help.
10. How do I get perfect edges around hair?
Automatic tools often struggle with hair. For best results, use a tool that offers edge refinement or manual brushing. Zoom in and carefully paint over hair areas to preserve fine details. Some dedicated background removers have “hair” or “fur” modes specifically for this purpose.
Conclusion: Remove Backgrounds with Confidence
Removing backgrounds from images is no longer a task reserved for professional designers with expensive software. Whether you need a transparent logo, a clean product photo, or a polished headshot, the tools and techniques in this guide put professional results within reach.
Start with automatic tools for quick results, but do not be afraid to use manual methods when you need perfect edges. Always keep a copy of your original image, save transparent images as PNG, and prioritize your privacy by using tools that process images locally.
The next time you need to remove a background, you will know exactly what to do. Choose your method, follow the steps, and enjoy your clean, professional images.