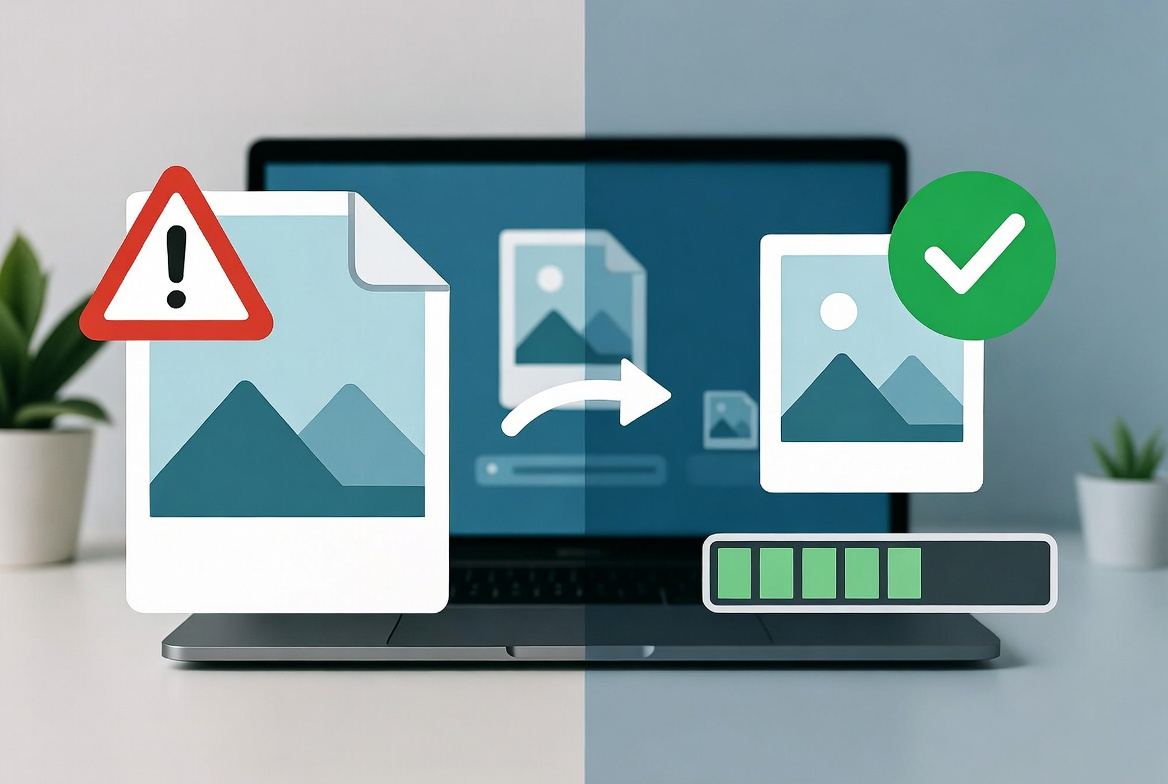
You have a beautiful high-resolution photo, but when you try to upload it to your website, you get an error message. The file is too large. Or maybe you are trying to email a picture to a friend, but your email service blocks it. Large images are everywhere, and they cause endless frustration. The solution is to compress images without losing quality.
Learning how to compress image files effectively is an essential skill for anyone who works with photos, whether you are a blogger, business owner, photographer, or casual user. This guide will walk you through everything you need to know about image compression, from understanding how it works to step-by-step methods for reducing file size while keeping your pictures looking great. You will learn about different compression tools, common mistakes to avoid, and best practices for web, email, and social media.
What Is Image Compression and Why Do You Need It?
Image compression is the process of reducing the file size of an image without significantly changing its appearance. Every digital image is made up of pixels, and those pixels contain data. Compression removes some of that data in a smart way, making the file smaller while keeping the image looking the same to the human eye.
Here is why you need to compress your images:
- Faster website loading: Large images slow down your website. Compressed images load faster, improving user experience and SEO rankings.
- Email attachments: Many email services have size limits. Compressed images fit within those limits.
- Storage space: Compressed images take up less space on your hard drive, phone, or cloud storage.
- Social media uploads: Platforms compress images anyway. You might as well control the process yourself.
- Bandwidth savings: Smaller files use less data, which matters for mobile users and those with limited internet plans.
What People Use Image Compression For
Here are some real ways people use image compression tools in their daily lives and work.
Website Owners and Bloggers
A blogger takes high-quality photos for their recipe posts. The images are 5MB each, and the page takes forever to load. By using a photo compressor, they reduce each image to under 300KB without visible quality loss. Page load time drops by 70 percent, and readers stay longer.
E-commerce Sellers
An online store owner has hundreds of product photos. Each image is 3-4MB. The website is slow, and customers are abandoning their carts. After compressing all product images, the site loads faster and sales increase.
Email Marketers
A marketing professional sends newsletters with embedded images. Some email clients block large images. They compress all images before sending, ensuring every recipient sees the full content.
Photographers
A wedding photographer delivers hundreds of high-resolution images to clients. The files are enormous. They use a picture compressor to create web-optimized versions for online galleries while keeping the originals for printing.
Social Media Managers
A social media manager prepares images for multiple platforms. Each platform has different size limits. They compress images to meet requirements while maintaining quality.
Students and Job Seekers
A student needs to upload a portfolio of artwork to a university application. The file size limit is 10MB. They compress their images to fit within the limit without losing quality.
Lossy vs Lossless Compression: What Is the Difference?
Understanding the two types of compression helps you choose the right approach for your needs.
Lossy Compression
Lossy compression permanently removes some image data to reduce file size. The result is a smaller file, but quality is reduced. However, with modern algorithms, the quality loss can be almost invisible to the human eye at moderate compression levels.
Best for: Photographs, complex images, web use, social media.
Common formats: JPG, WebP (lossy mode).
Lossless Compression
Lossless compression reduces file size without removing any image data. The original quality is preserved completely. When you decompress the image, you get back exactly the same pixels you started with. However, the file size reduction is usually smaller than lossy compression.
Best for: Logos, graphics with text, medical images, archival storage.
Common formats: PNG, GIF, WebP (lossless mode).
How to Compress an Image: Step-by-Step Methods
There are several ways to compress images, from simple online tools to desktop software. Here is a step by step guide for each approach.
Method 1: Using an Online Image Compressor (Easiest)
Online tools are the fastest and most convenient option for most people. They work on any device with an internet connection and require no software installation.
- Open your preferred photo compressor tool in your browser. Look for one that processes images locally for privacy.
- Upload the image you want to compress. Most tools support JPG, PNG, and WebP formats.
- Adjust the quality setting. For web use, 80-85 percent is usually sufficient.
- Check the new file size. Most tools show you the before and after sizes.
- Download your compressed image.
Pro tip: Many online compressors allow you to compress multiple images at once. This saves time when you have many files to process.
Method 2: Using Built-in Operating System Tools
Both Windows and Mac have basic image compression capabilities built in.
On Windows: Right-click on your image file, select “Open with” then “Photos.” Click the three dots menu, select “Resize image,” and choose a smaller size. Lower resolution means smaller file size.
On Mac: Open your image in Preview. Go to File > Export. Use the quality slider to reduce file size. Lower quality equals smaller file size.
Method 3: Using Free Software (GIMP)
GIMP is a free, open-source image editor that offers advanced compression controls.
- Open your image in GIMP.
- Go to File > Export As.
- Choose JPG or PNG format.
- Adjust the quality slider. Lower quality = smaller file size.
- Click Export. For JPG, you can see the estimated file size before saving.
Method 4: Using Command Line (For Advanced Users)
For those comfortable with the command line, ImageMagick offers powerful compression options.
- Compress a JPG with quality setting:
convert input.jpg -quality 85 output.jpg - Compress a PNG:
convert input.png -quality 85 output.png - Compress all images in a folder:
for %f in (*.jpg) do convert "%f" -quality 85 "compressed_%f"
How to Compress JPEG Without Losing Quality
JPEG is the most common format for photographs, and compressing it well requires finding the right balance.
- Open your chosen compress JPEG tool.
- Upload your JPG image.
- Look for a quality slider. Start at 85 percent.
- Check the result. Zoom in to inspect fine details.
- If quality looks good, try lowering to 80 percent. Repeat until you see visible degradation.
- Stop at the highest quality setting that gives you acceptable file size.
Important: Never save a JPEG repeatedly. Each save degrades quality. Compress once, save once.
How to Reduce Picture Size for Different Platforms
Different platforms have different requirements. Here are the recommended settings for common use cases.
Reduce Picture Size for Website
Website images should be as small as possible without visible quality loss. Target file sizes under 200-300KB. Use quality settings of 80-85 percent. Dimensions should match your site’s layout (typically 1200-2000 pixels wide).
Reduce Picture Size for Email
Email clients often block images over 1MB. Resize and compress images to under 500KB if possible. Dimensions under 800 pixels wide are usually safe.
Reduce Picture Size for Social Media
Social media platforms compress images anyway. Upload images that are already compressed to maintain quality. Use 80-85 percent quality. Dimensions should match platform recommendations.
Reduce Picture Size for Printing
Printing requires high resolution. Do not compress images intended for print. Use lossless formats like PNG or TIFF. Only compress copies used for web or email.
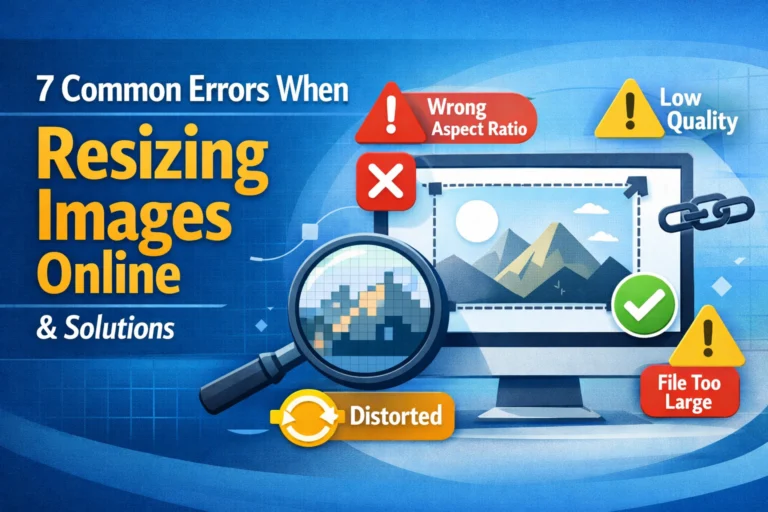
Common Mistakes When Compressing Images
Avoid these common pitfalls to get clean, professional results.
Mistake 1: Over-Compressing
Too much compression creates visible artifacts like blocky areas, color banding, and blurry details. Always check your compressed image at 100 percent zoom before finalizing.
Mistake 2: Compressing the Original
Never compress your only copy. Always keep an uncompressed original. Save compressed versions with a new name.
Mistake 3: Using the Wrong Format
Using JPG for images with text or logos causes blurry edges. Using PNG for photographs creates unnecessarily large files. Choose the right format for your image type.
Mistake 4: Ignoring Image Dimensions
Compression reduces file size, but large dimensions still mean large files. Resize your image first, then compress.
Mistake 5: Assuming All Compressors Are the Same
Different tools use different algorithms. Test a few to find which works best for your images.
Best Practices for Image Compression
Follow these best practices to get the best results every time.
Always Keep an Original Copy
Before compressing, save a copy of your original image. This gives you a fallback if something goes wrong or if you need a higher quality version later.
Resize Before You Compress
Compression works best when dimensions are already appropriate. Resize your image to the target dimensions first, then compress.
Use the Right Format for the Right Image
JPG for photographs, PNG for graphics with text or transparency, WebP for modern web use where file size is critical.
Test Different Quality Settings
Do not assume maximum quality is best. For web images, test settings between 70 and 90 percent. You will often find that lower settings produce acceptable quality with much smaller file sizes.
Use Batch Processing for Multiple Files
If you have many images to compress, look for a tool that supports batch processing. This saves significant time compared to compressing files one by one.
Lossless Compression Tools Worth Knowing
For images where quality cannot be compromised, lossless compression tools are essential.
PNG Optimizers
Tools like TinyPNG and PNGGauntlet reduce PNG file sizes without any quality loss. They work by removing unnecessary metadata and optimizing the compression algorithm.
JPEG Optimizers
Lossless JPEG optimizers like jpegtran and JPEGmini remove redundant data without changing the image. File size reductions are smaller than lossy compression, but quality is preserved perfectly.
WebP Converters
Converting images to WebP format can reduce file size by 25-35 percent compared to JPG and PNG, often with no visible quality loss. WebP supports both lossy and lossless modes.
Security and Privacy Considerations
When using online image compression tools, your privacy matters. Here is what to look for.
Client-Side Processing Is Safer
The best online image compressors process your images locally in your browser. Nothing is uploaded to any server. This is essential for personal photos, business images, and sensitive content.
Avoid Tools That Require Accounts
If an image compressor asks you to create an account or provide an email address, be cautious. Legitimate tools do not need your personal information to compress an image.
Check for HTTPS Encryption
Look for the padlock icon in your browser’s address bar. This ensures that any data transmitted is encrypted. Even better, choose tools that do not transmit data at all.
Frequently Asked Questions
1. What is the best way to compress an image without losing quality?
For photographs, use a quality setting of 80-85 percent. For graphics with text, use PNG format with optimization. For the best balance, consider converting to WebP format.
2. Does compressing an image reduce quality?
Lossy compression reduces quality, but with modern algorithms, the difference is often invisible to the human eye at moderate settings. Lossless compression preserves quality completely.
3. What is the best free image compressor?
The best tool depends on your needs. For quick online compression, look for tools that process locally. For desktop software, GIMP is a powerful free option. For batch processing, consider command line tools like ImageMagick.
4. How much can I compress an image?
A typical JPG can be reduced by 50-80 percent in file size with minimal visible quality loss. PNG files can often be reduced by 30-50 percent. Results vary based on the image content.
5. Can I compress multiple images at once?
Yes. Many online compressors and desktop applications support batch processing. You can upload and compress dozens of images at the same time.
6. What is the difference between compressing and resizing?
Compressing reduces file size by removing data. Resizing changes the dimensions (width and height) of the image. For best results, resize first, then compress.
7. Why does my compressed image look blurry?
You likely used too much compression. Lower quality settings remove more data, which can cause blurriness or blocky artifacts. Increase the quality setting and try again.
8. What format gives the smallest file size?
For photographs, WebP typically gives the smallest file sizes, followed by JPG. For graphics with text, PNG is often necessary, but WebP can sometimes work as well.
9. Is it safe to compress images online?
Yes, if you choose a tool that processes images locally in your browser. Avoid tools that upload your images to servers unless you trust their privacy policies.
10. How do I compress an image for email?
Resize your image to under 800 pixels wide, then compress with quality setting of 80-85 percent. Target file size under 500KB. Most email clients will accept images of this size.
Conclusion: Compress Images with Confidence
Image compression is an essential skill in today’s digital world. Whether you are building a website, sending emails, or sharing photos on social media, smaller file sizes mean faster loading, less frustration, and better user experiences.
Start with the right format for your image. Use lossy compression for photographs and lossless compression for graphics. Always keep a copy of your original. Test different quality settings to find the perfect balance between file size and quality. And remember to resize before you compress for the best results.
The next time you need to compress an image, you will know exactly what to do. Choose your method, follow the best practices, and enjoy smaller, faster, better images.