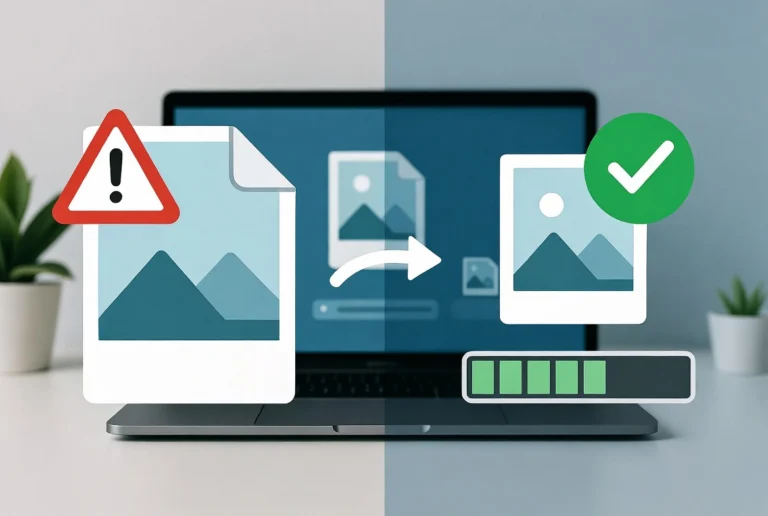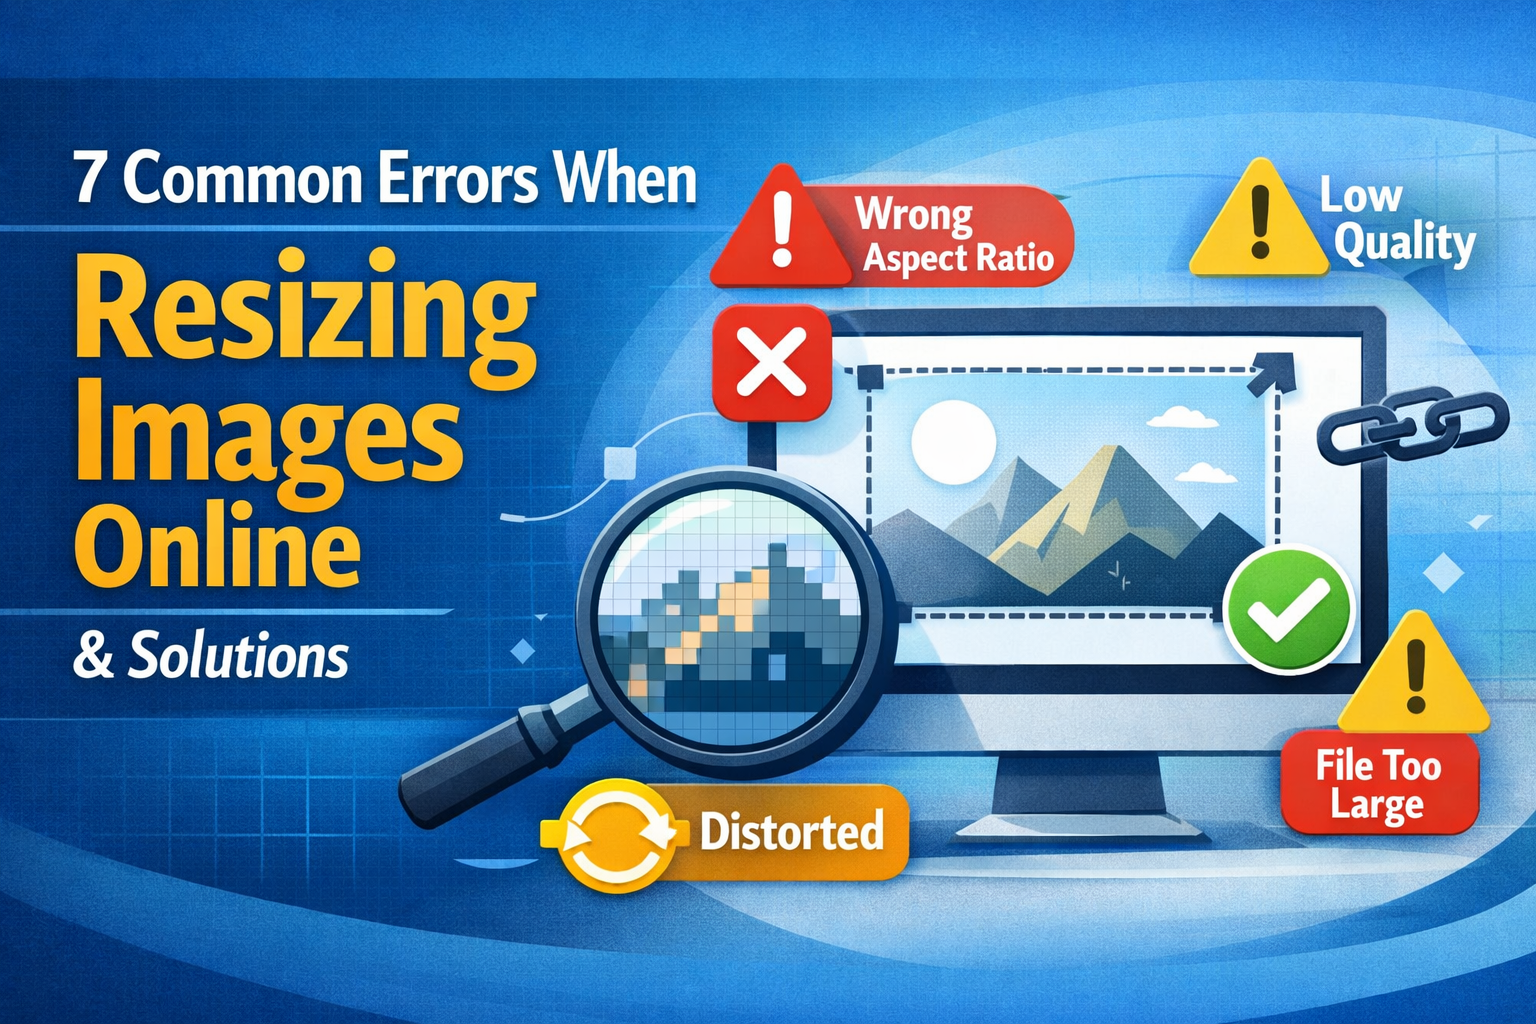
You have the perfect photo. The lighting is right, the composition is balanced, and the moment is captured. Then you resize it for your website, and something goes wrong. The image looks blurry, stretched, or pixelated. These are common image resizing errors that can ruin an otherwise great photo. You are not alone.
Resizing images online seems simple, but there are frequent mistakes that people make over and over. The good news is that these problems are easy to fix once you know what to look for. This guide will walk you through the seven most frequent mistakes people make when resizing images online, along with practical solutions to fix them. Whether you are a blogger, business owner, or casual user, you will learn how to resize images correctly every time.
Why Getting Resizing Right Matters
Before diving into the specific mistakes, it helps to understand why getting resizing right is important. A poorly resized image can hurt your website’s credibility, slow down page loading, and frustrate visitors. In e-commerce, a blurry product photo can cost you a sale. On social media, a stretched image looks unprofessional. In email, an oversized image might not even reach your recipients. By learning to avoid these common pitfalls, you will save time, maintain image quality, and present your best work to the world.
Mistake 1: Not Locking the Aspect Ratio
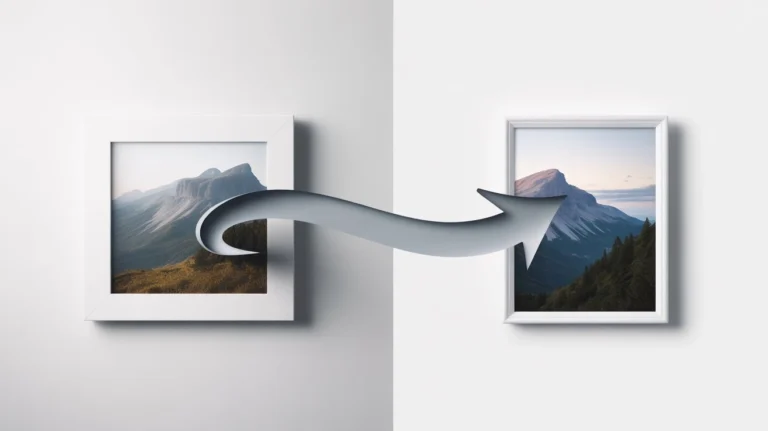
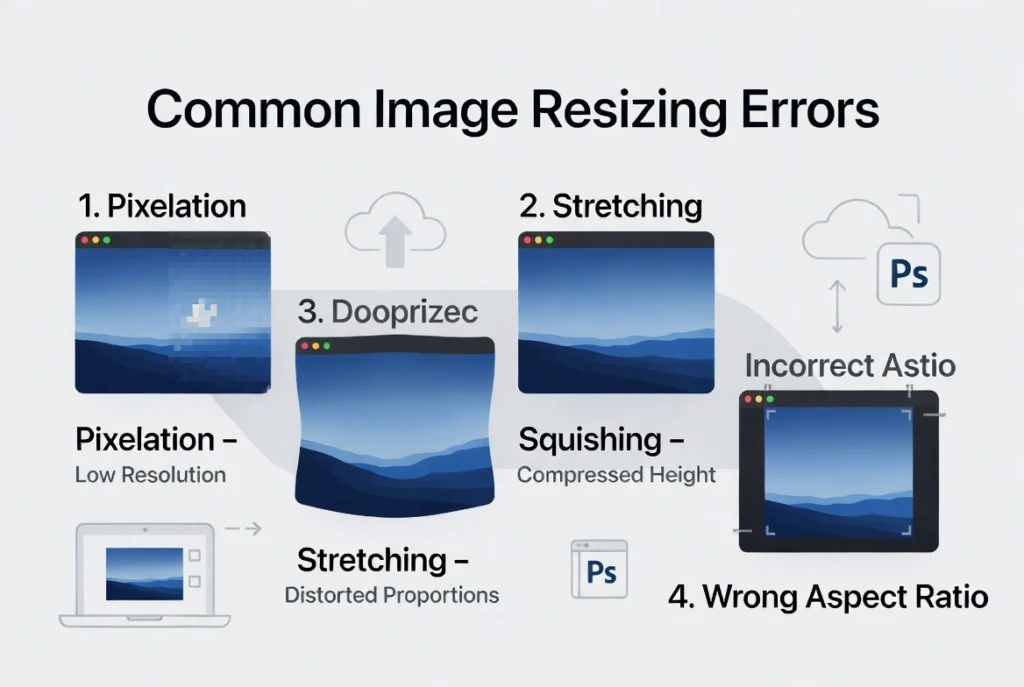
This is the most frequent problem people encounter. When you change the width without changing the height proportionally, your image becomes stretched or squashed. People look too wide or too tall. Circles become ovals. Everything looks wrong.
Why It Happens
Many online resizing tools allow you to enter width and height independently. Without realizing it, users type numbers that do not match the original proportions. The tool obediently resizes to those dimensions, creating distortion.
The Solution
Always lock the aspect ratio before resizing. Most tools have a chain icon or a checkbox labeled “Maintain aspect ratio.” Click it before changing dimensions. If your tool does not have this feature, calculate the proportional dimensions manually. Divide the target width by the original width, then multiply the original height by that same number.
Real-Life Example
A photographer tries to resize a 3000 x 2000 pixel image to 1000 pixels wide. Without locking aspect ratio, they accidentally set the height to 1000 pixels as well. The result is a squashed image. The correct height should be 667 pixels (2000 ÷ 3).
Mistake 2: Enlarging Images Beyond Their Original Size

Enlarging an image beyond its original dimensions is a common pitfall. Making an image bigger than the original almost always reduces quality. The software must invent new pixels to fill the gaps, resulting in a blurry, soft, or pixelated appearance.
Why It Happens
Users sometimes need a larger image than they have. Perhaps they downloaded a small image from the web and need a bigger version. Or they do not realize that enlarging causes quality loss.
The Solution
Never enlarge an image. Always start with an image that is larger than your target size. If you need a 1200 pixel wide image, start with an original that is at least 1200 pixels wide. If you only have a small image, consider using it at its original size or finding a larger source.
Real-Life Example
A blogger tries to use a 400 x 300 pixel image as a hero banner on their website. They resize it to 1200 x 900 pixels. The result is a blurry, unprofessional mess. They should either find a larger original image or use a different image that starts at the correct size.
Mistake 3: Over-Compressing the Image
Over-compression is a subtle problem that many people do not notice until it is too late. Compression reduces file size, but too much compression creates visible artifacts. These appear as blocky areas, color banding, or blurry details. The image looks low quality even if the dimensions are correct.
Why It Happens
Users want the smallest possible file size for fast loading. They crank the compression setting to maximum without checking the visual result.
The Solution
Find the balance between file size and quality. Start with a quality setting of 80-90 percent. Check the image visually. If it looks good, try lowering the quality by 5 percent and check again. Stop when you notice visible degradation. For most web images, 80-85 percent is the sweet spot.
Real-Life Example
A website owner compresses all product images to 50 percent quality to save space. Customers complain that the products look blurry and unappealing. Sales drop. By increasing quality to 85 percent, file sizes increase slightly, but the images look professional again, and sales recover.
Mistake 4: Choosing the Wrong File Format
Choosing the wrong file format affects both quality and functionality. Different image formats serve different purposes. Using the wrong format can result in large file sizes, missing transparency, or poor quality.
Why It Happens
Many users do not know the difference between JPG, PNG, and WebP. They use whatever format their tool defaults to, often without understanding the trade-offs.
The Solution
Learn which format works best for each situation. Use JPG for photographs and complex images with many colors. Use PNG for images with text, logos, graphics with sharp lines, or images that need transparency. Use WebP for modern websites where file size is critical and browser support is confirmed.
Real-Life Example
A designer creates a logo with a transparent background and saves it as JPG. The background turns white, ruining the effect. They should have saved as PNG to preserve transparency.
Mistake 5: Resizing and Then Saving Repeatedly
Resizing and saving repeatedly degrades quality over time. Every time you save a JPG, it loses a little more quality. This is called generation loss. If you resize, save, reopen, resize again, and save again, quality degrades noticeably.
Why It Happens
Users often make incremental changes, saving after each adjustment. They do not realize that JPG compression is lossy and cumulative.
The Solution
Work with a lossless format like PNG while editing. Make all your changes, including resizing, cropping, and adjustments. Then save your final version as JPG or WebP only once. If you must save as JPG during editing, use the highest quality setting (100 percent) to minimize loss.
Real-Life Example
A marketer resizes an image, saves it, decides it needs to be smaller, resizes again, and saves again. After three rounds, the image looks noticeably worse. By making all resizing decisions at once and saving only once, they would have preserved quality.
Mistake 6: Overwriting the Original Image
Overwriting your original image is a mistake that many people regret later. Resizing an image and saving over the original means you lose the high-resolution version forever. Later, if you need a different size, you cannot go back.
Why It Happens
Users click “Save” instead of “Save As.” They overwrite their original file without thinking.
The Solution
Always keep a copy of your original image. Save resized versions with a new name, such as “image-name-resized.jpg.” Store your originals in a separate folder. If you are using an online tool that does not save files, download the resized version and keep the original on your device.
Real-Life Example
A photographer resizes a high-resolution wedding photo for social media and saves over the original. Later, a client requests a large print. The original is gone. Always keep originals.
Mistake 7: Using the Wrong Resolution for the Wrong Purpose
Using the wrong resolution affects both web and print output. Images for web use need different resolution settings than images for print. Using web resolution for printing results in blurry prints. Using print resolution for web results in unnecessarily large files.
Why It Happens
Users do not understand DPI (dots per inch) and its relationship to image display. They assume one resolution works for everything.
The Solution
For web and screen use, 72 DPI is sufficient. Higher DPI does not improve display on screens. For printing, use 300 DPI. Calculate required pixel dimensions by multiplying the desired print size in inches by 300. For a 4×6 inch print, you need 1200 x 1800 pixels.
Real-Life Example
A business owner uses a 72 DPI image for a printed brochure. The brochure looks pixelated and unprofessional. They should have used a 300 DPI image or started with a higher resolution original.
How to Resize Images Correctly: A Quick Checklist
Follow this checklist every time you resize an image to avoid the problems listed above.
- Keep a copy of your original image before resizing
- Lock the aspect ratio before changing dimensions
- Never enlarge an image beyond its original size
- Start with an image larger than your target size
- Choose the right format for your use case
- Use 80-90 percent quality for web images
- Make all changes before saving as JPG
- Use 72 DPI for web, 300 DPI for print
- Test your resized image before publishing
Tools That Help You Resize Correctly
The right tool makes resizing easier and reduces the chance of mistakes. Here is what to look for.
Features of a Good Image Resizer
- Aspect ratio lock (maintain proportions automatically)
- Quality slider for compression control
- Multiple format support (JPG, PNG, WebP)
- Batch processing for multiple files
- Local processing for privacy (no uploads)
- Real-time preview of resized image
When choosing an online image resizer, prioritize tools that process images locally in your browser. This keeps your photos private and secure. No uploads mean no one else sees your images.
Security and Privacy Considerations
When using online image resizing tools, your privacy matters. Here is what to look for.
Client-Side Processing Is Safer
The best online image resizers process your images locally in your browser. Nothing is uploaded to any server. This is essential for personal photos, family pictures, and sensitive images.
Avoid Tools That Require Accounts
If an image resizer asks you to create an account or provide an email address, be cautious. Legitimate tools do not need your personal information to resize an image.
Check for HTTPS Encryption
Look for the padlock icon in your browser’s address bar. This ensures that any data transmitted is encrypted. Even better, choose tools that do not transmit data at all.
Frequently Asked Questions
1. What is the most common mistake when resizing images?
The most frequent problem is not locking the aspect ratio, which causes stretched or squashed images. Always maintain proportions to avoid this issue.
2. Does resizing an image reduce quality?
Reducing image size (making it smaller) typically does not reduce visible quality. Enlarging an image (making it bigger) almost always reduces quality.
3. What is the best format for resizing images for the web?
For photographs, use JPG or WebP. For graphics with text or logos, use PNG. For the smallest file sizes with good quality, use WebP if your audience uses modern browsers.
4. Can I resize an image without losing quality?
Yes, as long as you are making the image smaller, not larger. Use a tool that maintains aspect ratio and use quality settings of 80-90 percent for JPG output.
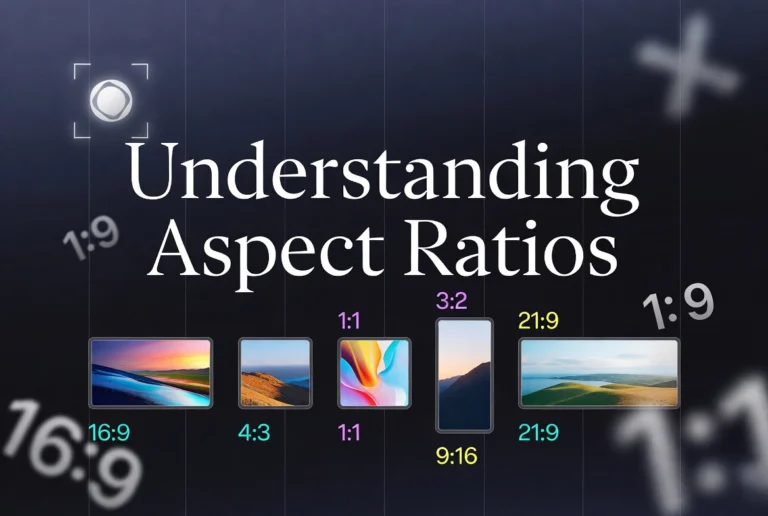
5. What is aspect ratio and why does it matter?
Aspect ratio is the proportional relationship between width and height. Ignoring aspect ratio causes distortion. For example, a 4:3 aspect ratio means the width is 4 units for every 3 units of height.
6. How do I resize multiple images at once?
Use a tool that supports batch processing. Many online resizers and desktop applications allow you to upload multiple files and resize them all with the same settings.
7. Why does my resized image look pixelated?
You likely enlarged the image beyond its original size, or you used too much compression. Start with a larger original or reduce the quality setting.
8. What resolution should I use for Instagram?
For Instagram feed posts, use 1080 x 1080 pixels. For stories, use 1080 x 1920 pixels. These dimensions fit perfectly without cropping.
9. How do I know if an online image resizer is safe?
Look for tools that process images locally in your browser. They should not require an account or upload your images to a server. Check for HTTPS and read the privacy policy.
10. What is the difference between resizing and cropping?
Resizing scales the entire image up or down. Cropping removes parts of the image, usually from the edges. Cropping changes what is visible; resizing changes how large everything appears.
Conclusion: Resize Images with Confidence
Resizing images does not have to be frustrating. By understanding these seven common mistakes and their solutions, you can avoid the pitfalls that ruin otherwise good photos. Lock the aspect ratio, never enlarge, choose the right format, and always keep your original.
Take a few extra seconds to check your settings before resizing. Test your resized image before publishing. Keep a copy of your original file. These small habits will save you hours of rework and ensure your images always look their best.
The next time you need to resize an image, you will know exactly what to avoid. Choose the right tool, follow the best practices, and enjoy perfectly sized images every time.